Select this menu choice when you want to restore files. The menu choices allow you to select files to restore, or to specify a location to redirect your files, in case you want to put them somewhere other than where they came from when they were backed up.
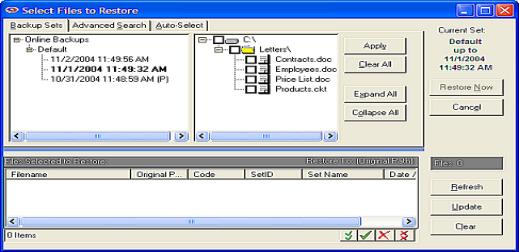
This is the main Restore screen. The left pane contains a list of your named Backup Sessions. The ones with a plus sign (+) beside them have backed-up data associated with them. Click on the plus sign to open the Session List.
Under each Session is a list of backup sessions that have been performed. They have the dates and times they were performed, in ascending order of oldest to most recent.
Double-click on a session to display its contents in the right pane. As with the standard explorer interface, you can click on the plus signs (+) to open the tree view of the backup session to further explore it.
Alternately, you can click the Expand All button to expand the entire tree view, then scroll through it to see what is in the particular Backup Set. To select a drive, directory, or file to restore, click on the box next to its icon. To deselect a drive, directory, or file, click on its green check to clear it.
Note that if you mark or unmark a drive or folder, all items below it become automatically marked or unmarked.
The Collapse All button does the opposite of the Expand All button. Click it to collapse the tree view.
To select all files in the currently selected set, click Select All.
To deselect all files in the currently selected set, click Deselect All.
Click the Apply button to apply changes as you make them. Your list of files to restore is displayed in the window at the bottom of the screen.
After you have selected all the files you want to restore, click the Restore Now button to begin the restore process, or pick the Cancel button to cancel your Restore process.
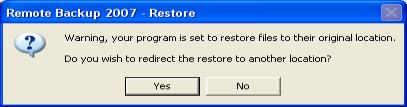
This screen displays if you have selected to restore files to their original location (which is the default) and asks if you want to redirect the restored files to another location. If you want to over-write your current files in their original locations, answer NO to this prompt. Otherwise, answer YES, and the software will allow you to select another location for the restored files.
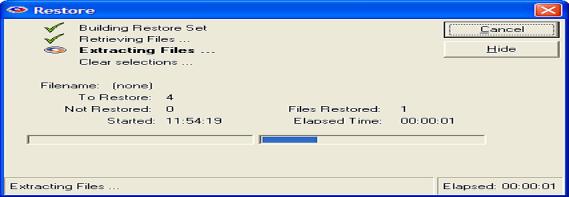
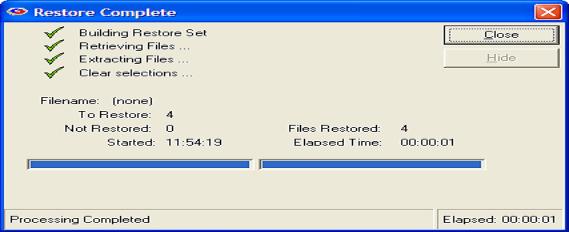
During the restore process you’ll see this progress screen. When the restore process is finished you’ll see the following screen:
You can also select files for restore by using the Advanced Search tab and the Auto-Select tab.
{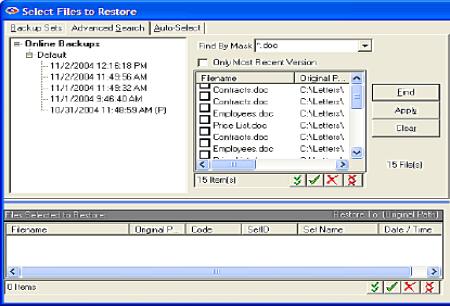
Advanced Search allows you to find files by using key words and character strings that appear within the file names. For example, if you want to restore a "price list" file, pick the Advanced Search tab, and enter "price list" in the Find By Mask field.
Select the Only Most Recent Version checkbox if you only want to display the most recent version of all files found. This is an excellent way to very quickly restore only the most recent version of files, regardless which backup set they belong to, or when they were backed up.
To restore the latest version of all Microsoft Word files that end in ".doc" enter, ".doc" in the Find By Mask field, select the Only Most Recent Version checkbox, and click the Find button.
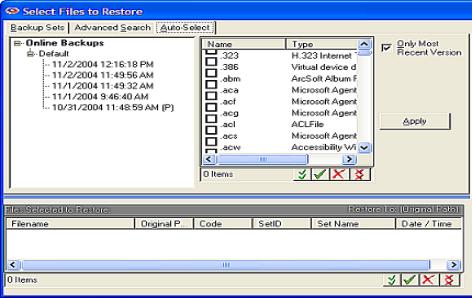
The Auto-Select tab allows you to find files by file type. Select the Auto-Select tab to display a list of all the file types on your computer. All the Windows Registered file types will be listed according to their file extension, with an explanation of what application the files belong to.
For example, to find all your QuickBooks files, select the Auto-Select tab, then click the Type column header to sort by file type, and scroll down until you locate the QuickBooks file types. Select them, and click Apply, then Restore Now.
Restoring the System State
System State can be restored like any file. Simply select it for restore. After restore, the computer must be rebooted for the restore to take effect.
Restoring Active Directory
Restart the computer in Directory Services Repair Mode.
Start Remote Backup
Restore Active Directory using the Remote Backup Restore interface
Restart the computer in Normal Mode.
